
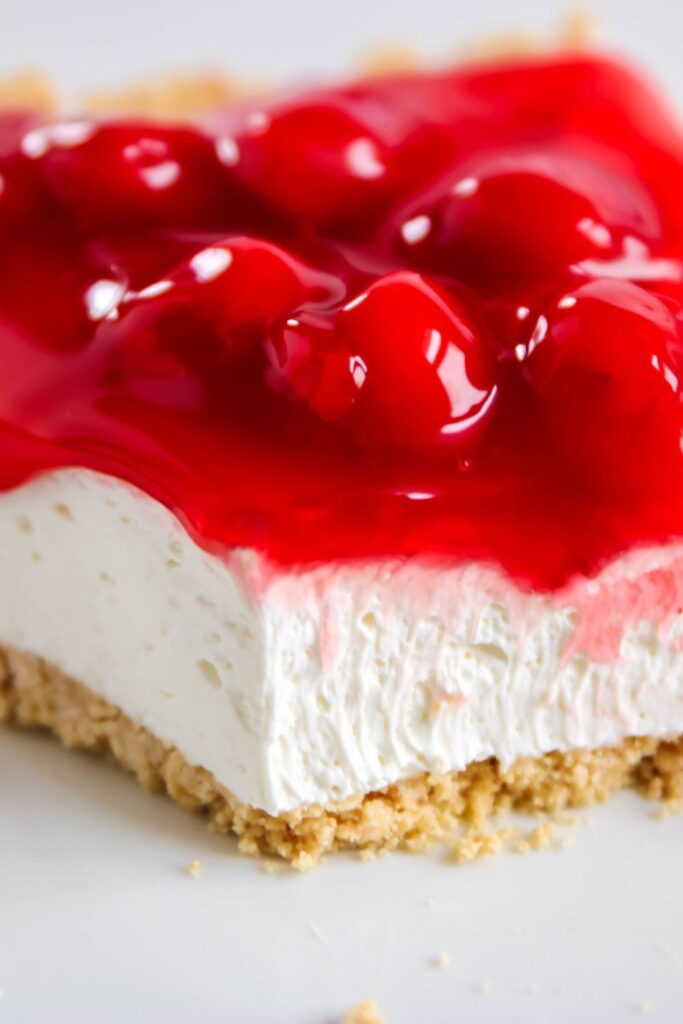
This cherry cheesecake is super quick and easy to whip up. A no-bake cherry cheesecake that is silky smooth, creamy cheesecake filling topped with cherry pie filling. This cheesecake recipe takes 5 ingredients to make. My no bake cherry cheesecake dessert is one you can make for any and every occasion.
The perfect dessert that takes no time to whip up. This is a classic dessert that kids and adults will enjoy. Whip this up for your next weeknight dessert, summer cookout, or family gathering. Try my heaven-on-earth cake for another no-bake cake. I hope you all enjoy this easy cheesecake recipe as much as my son and I do.

Also, try out my basque cheesecake, microwave cheesecake, or cheesecake stuffed apples. For another cherry lovers recipe try my cherry jubilee recipe made in the crockpot.
This No Bake Cherry Cheesecake Recipe Is…
- Made with 5 simple ingredients that you might already have on hand in your kitchen.
- A sweet treat that is always a crowd favorite when I take it for parties. Watch the entire cheesecake disappear in no time.
- Creamy filling with a sweet cherry pie filling on top. The two flavors just blend perfectly.
- The cherry cheesecake is a perfect way to end the night.
- Great dessert you can make a day in advance of when you need to serve it up.

Ingredients You Will Need
Cream Cheese – Make sure to use room temperature cream cheese. The other thing is I did use 1/3 less fat. You can use any type you want. Full-fat cream cheese will offer the richest cheesecake layer.
Graham Cracker Crust – I made this easy and bought a graham cracker crust but feel free to make your own buttery graham cracker crust.
Vanilla Extract – A little splash is all it takes to add a nice depth to the cheesecake.
Whipped Cream – You will mix in whipped cream at the end, which helps add a nice airy texture. I prefer Cool Whip but you are welcome to grab heavy cream and make your own whipped cream. I find an electric mixer helps to get a fluffy whipped cream.
Cherry Pie Filling – I used a can of cherry pie filling. Feel free to make homemade cherry pie filling if you prefer.
Variations to Recipe
- You can add 1/4 cup granulated sugar to the cheesecake batter to sweeten it up. This is optional.
- Add a splash of lemon or lime juice to add a tangy component to the cream cheese layer.
- Swap out the cherry filling with any other flavor of pie filling.
- Mix in crumbled Oreo cookies, chocolate chips, fine crumbs of graham crackers, etc. for added flavor. Or you can sprinkle on top of the cheesecake.
- Swap the graham cracker crust with an Oreo crust.
Favorite Topping Ideas
- Pie Filling – Cherry, Strawberry, Lemon Curd, Blueberry, Etc.
- Hot Fudge
- Chocolate Chips
- Caramel Sauce
- Butterscotch Sauce
- Swirl in Jam
- Cookie Crumbles
- Chopped Candy Bars
How To Make
Full directions for this cherry cheesecake are in the printable recipe card at the bottom of the post. This is a visual walk-through.
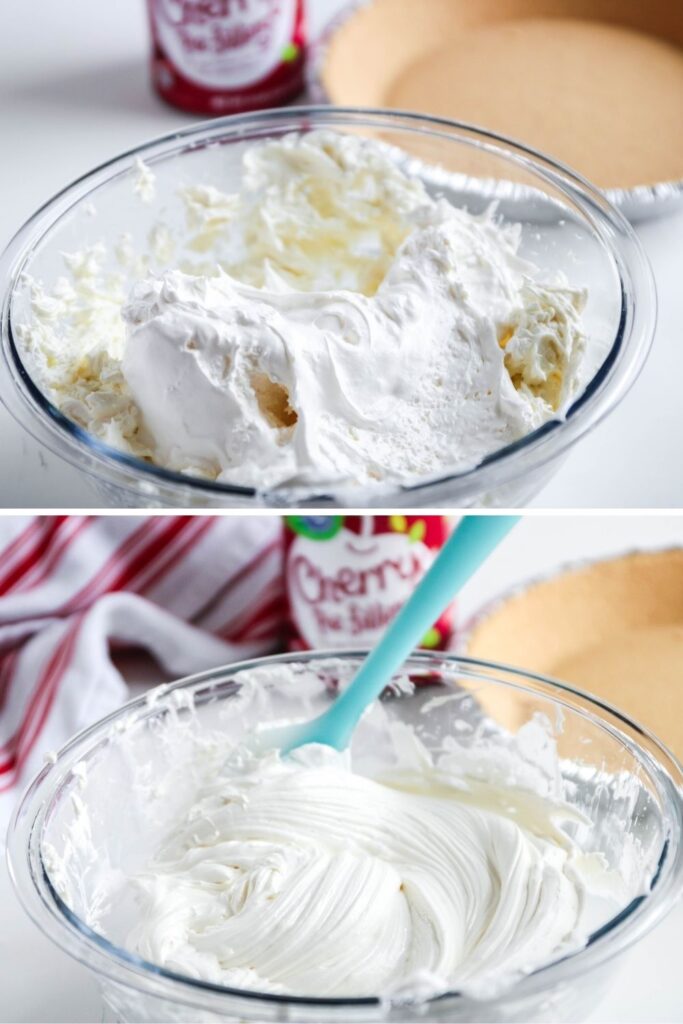
Step One: Add your softened cream cheese into a bowl and use a hand mixer or stand mixer and blend until nice and creamy.
Step Two: Next add in the vanilla, and mix in the whipped cream. This is the time to add in the sugar if you choose to sweeten up your cheesecake.
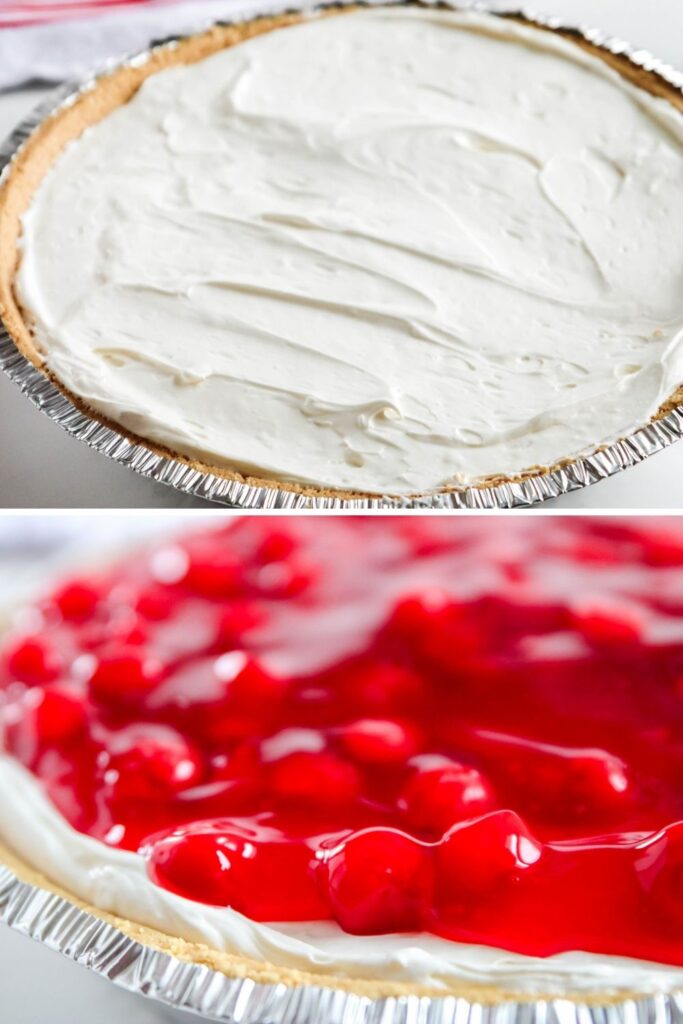
Step Three: Once the cheesecake is silky and creamy, pour into the graham cracker crust and spread smooth.
Step Four: Add on the cherries and place in the refrigerate for 2 hours, to let the cheesecake firm up. Then slice and serve and enjoy.
Storing Cheesecake
Refrigerate the cheesecake in an airtight container for 4-5 days. I find it is best when eaten within the first couple of days. This no-bake cheesecake with cool whip stores really well. I find using cool whips instead of making homemade ones helps it keep the fluffy texture. You can cover it with plastic wrap or place it in a sealed container. I recommend a sealed container as it preserves the flavor better.
Homemade whipped cream seems to break down faster, which will mean your cheesecake won’t store as long if you do go that route. It will last 2-3 days.
Freezing cheesecake can be done and it will store for 1 month. Just store it in a proper container and allow it to thaw in the fridge for 24 hours before slicing and serving.
Helpful Tips
- This cheesecake needs to be set up, or it will not hold its shape when you slice into it.
- Adding fresh citrus will really give this cheesecake a nice tangy flavor. Add 1-2 tablespoons of lemon or lime juice.
- Make sure to use room-temperature cream cheese. Or it will not give you a smooth texture like you want.
- I recommend using a hand mixer or stand mixer to really whip up the cream cheese.
Making Mini Cheesecakes can be done, just make up some crust and then place in each muffin tin. Then add in some of the cheesecake filling and add topping. I recommend using a cupcake liner that way you can remove the cheesecakes with ease.
FAQs
Here are some common questions for this cream cheese desserts.
Depending on who you ask, you will find some prefer no bake cheesecake over baked cheesecake. Baked cheesecakes are very dense and thick, where no bake are very creamy and light in texture.
If your cheesecake is not firming up you can place in the freezer for 1-2 hours to help firm it up. Sometimes if you don’t measure properly or the temperature of the fridge isn’t cold enough it can take longer to set up.
Thickening no bake cheesecake filling can be done by adding in heavy cream to the batter to whip on high speed. This helps to add more texture to the cheesecake. The other option is just keeping it in the fridge longer to fully set up. You can let it set up for 4-6 hours or even overnight if need be.
Cheesecake can store for up to 5 days in the fridge. Just make sure it is in an airtight container. Otherwise it can take on flavors of odors of the fridge if not sealed.

More No Bake Desserts
- Avalanche Cookies – No Bake
- No Bake Peanut Butter Pie
- Puppy Chow Balls – Muddy Buddies
- No Churn Ferrero Rocher Ice Cream
- Peanut Butter Cereal Bars
- No Bake Creamsicle Cheesecake
Have you tried the recipe? If so, please leave a star ⭐️⭐️⭐️⭐️⭐️ rating in the recipe card below or drop a comment. Also stay in touch with me through social media by following me on Facebook, Pinterest, or My Facebook Group
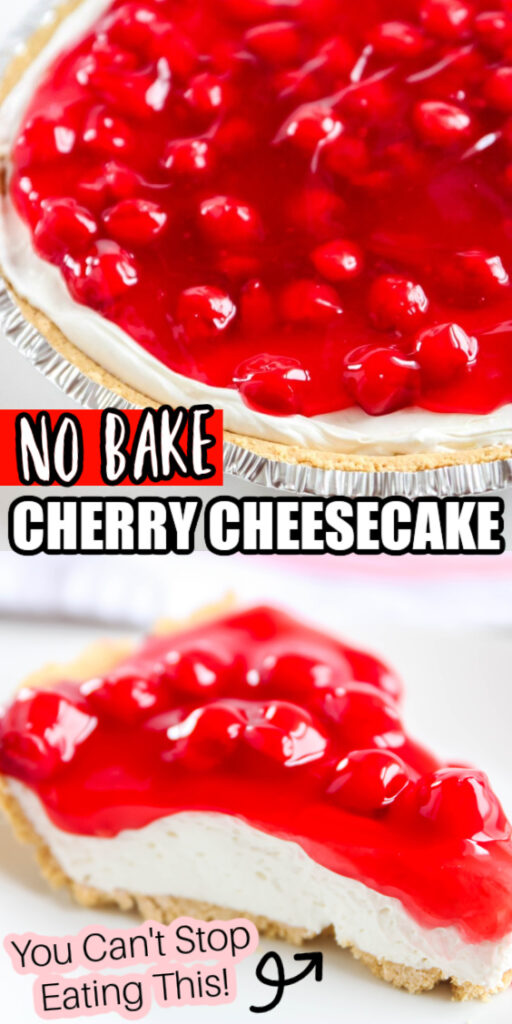
No Bake Cherry Cheesecake
Ingredients
- 16 ounces cream cheese softened
- 1 teaspoon vanilla
- 8 ounces Cool Whip
- 1 graham cracker pie crust
- 1 can pie filling 21 ounce can
- 1/4 cup granulated sugar optional for sweetness
Instructions
- Take your softened cream cheese and place in a bowl. Mix well on medium speed to cream the cream cheese.
- Next add in the vanilla and if you want your cheesecake to be sweeter add in sugar. The sugar is optional.
- Then you will add in the whipped cream and mix again until all the lumps are removed from the cheesecake batter.
- Pour into your prepared graham cracker crust, and top with the canned cherry pie filling.
- Cover and refrigerate your cherry cheesecake for 2-4 hours or until chilled. Then slice and serve up this no bake cherry cheesecake.
Video
Notes
Equipment
Nutrition
did you make this recipe?
Make sure to follow on Pinterest @bakemesomesugar and on Instagram @bakemesomesugar


Leave A Reply!