
These layered Cookie Monster Cheesecake Bars are incredible, easy, and fun. Made with a homemade cookie crust, topped with a velvety smooth no bake cheesecake layer.
Skip ordering at the bakery when you can easily make it at home. The perfect cookie monster dessert!
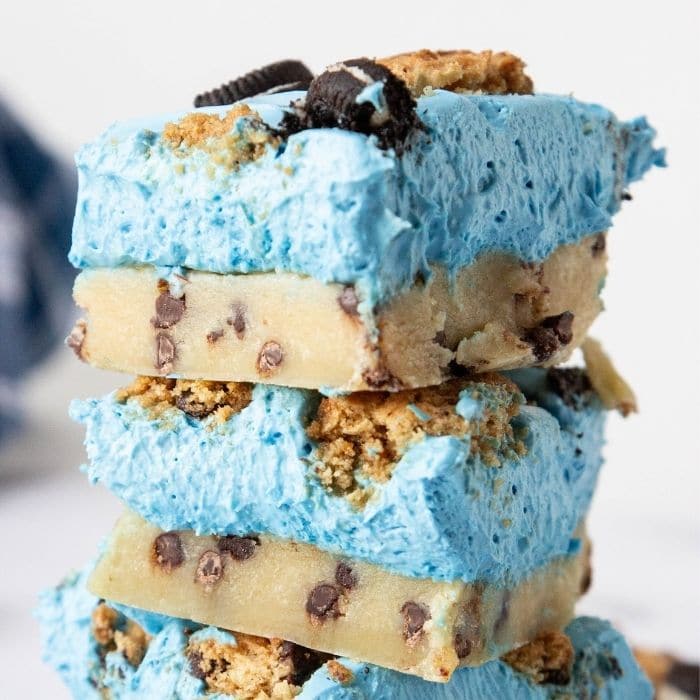
Table of contents
It’s impossible not to eat these cheesecake bars with a smile on your face. They are so rich and are themed with everyone’s favorite character…Cookie Monster! Fan of all things cheesecake? Try out my cheesecake stuffed apples.
This chocolate chip cookie cheesecake bars recipe is ideal for a birthday party, school gathering, or whenever you want a treat that really steals the show. You aren’t going to want to miss them.
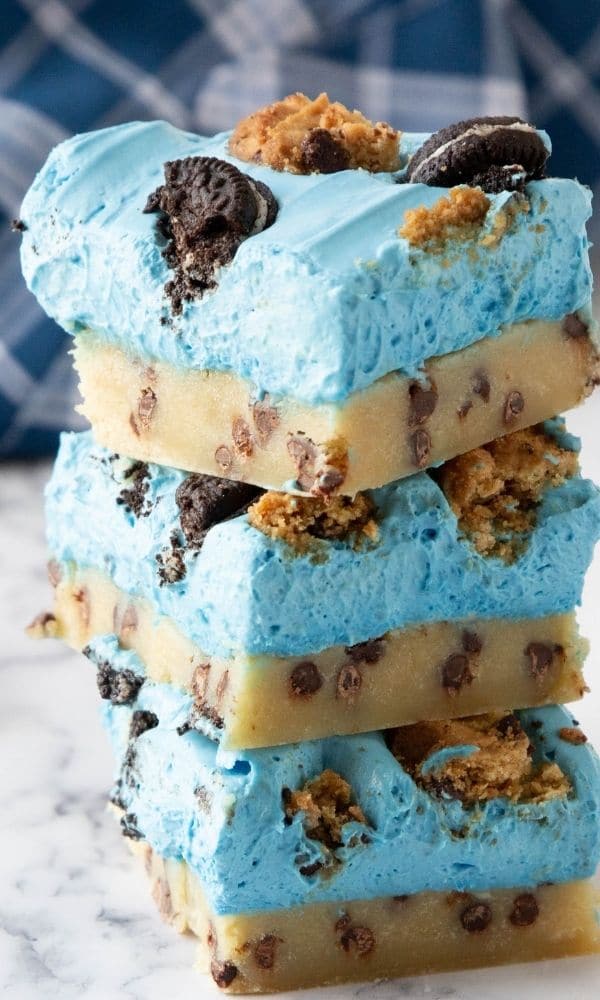
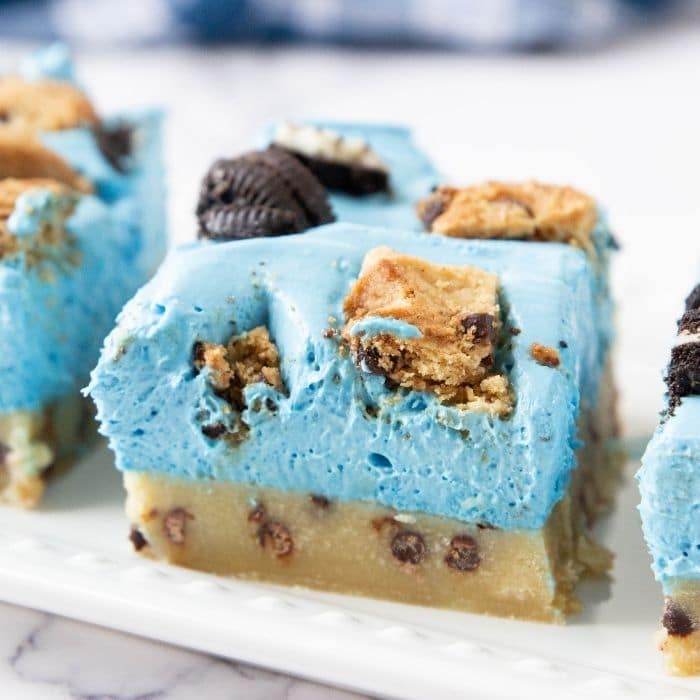
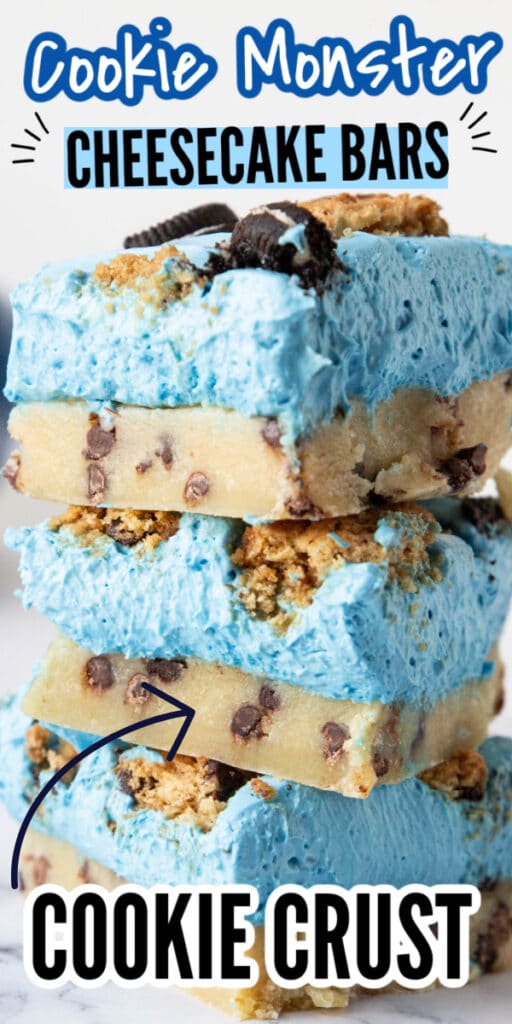
A no bake cheesecake bar dessert that is bright blue, topped with Oreos, crunchy Chip Ahoy’s, and a chocolate chip cookie crust. This would be a fun dessert for a cookie monster dessert bar for a birthday!
🍪 Why This Recipe Works
- It’s indulgent
- Layered dessert
- Crowd-pleasing
- Creamy cheesecake layer is impressive
- Homemade chocolate chip crust
- No bake cheesecake recipe for the topping
- Frugal dessert idea that doesn’t require a lot of ingredients
Try my Cookie Monster Cake as well! It is a layered cake that is delicious and a fun bright blue Cookie Monster themed cake.
🍫 Ingredients
Cookie Monster Dessert
- Softened Butter
- Brown Sugar
- White Sugar
- Large Egg
- Vanilla Extract
- Flour
- Salt
- Mini chocolate chips
Cheesecake Layer
- Cream Cheese
- Powdered Sugar
- Vanilla extract
- Sour cream
- Cool whip
- Lemon juice
- Blue food coloring
- Cookies
🍰 How to Make
Full steps on how to make this cookie monster cheesecake bars recipe is featured in the printable recipe card. This is a visual walk through.
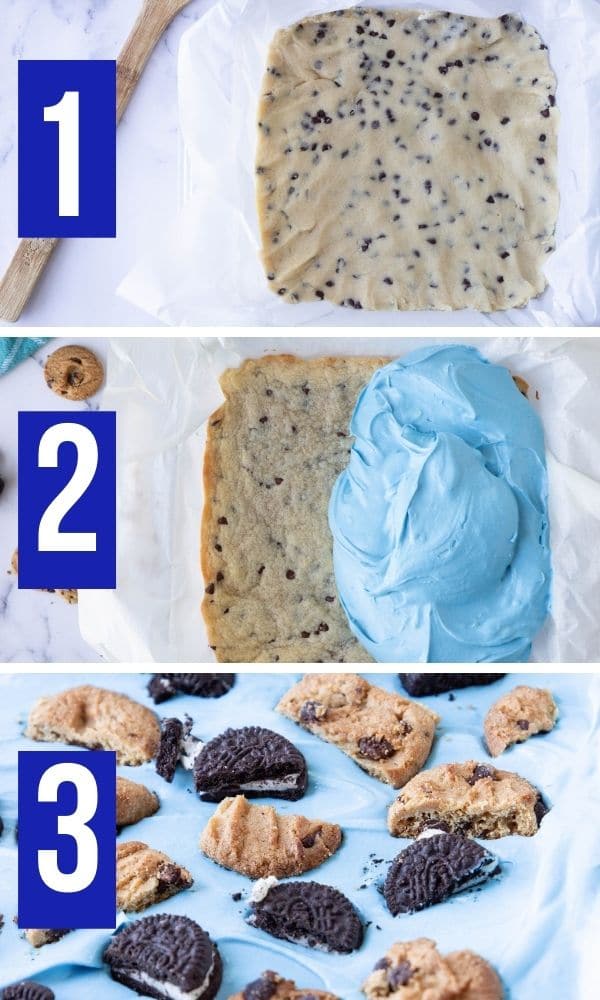
1. Make the crust by combining all the ingredients and pressing it into a baking pan.
2. Bake the crust and let cool completely.
3. Prepare the cheesecake layer by mixing the cheesecake filling until creamy. Spread onto the cookie crust.
4. Top with broken cookies.
5. Refrigerate overnight, serve, and devour.
🥄 Expert Tips
- You can prepare the cookie crust up to one day in advance. Bake the crust, let cool and cover tightly until you are ready to add cheesecake.
- Using room temperature cream cheese and sour cream will allow them to mix together more easily.
- It’s fine to swap out the blue food coloring for any other color you want.
- Make it extra fun by using mint cookies as a garnish and a little bit of mint extract for the cheesecake.
Recipe FAQs
Yep! You can easily double or even triple these Cookie Monster cheesecake bars. Use a 9 x 13 pan for doubling. If making an even larger batch to feed a crowd, you may need to use multiple pans.
In order to ensure that the dessert is set up properly, it’s best to let it sit in the fridge overnight. If you are in a huge hurry, you could refrigerate it for at least 4 hours before serving. If you serve it too soon, you will find that the pieces don’t cut as well, and it may be messier. It’s going to taste good either way.
Sure! I prefer the flavor and texture of homemade chocolate chip cookie crust, but you can easily swap it for store-bought. You will need to layer it on the pan’s bottom and bake as directed on the packaging. Let it cool, then add the cheesecake.
I prefer to use the full-fat version because it makes the cheesecake bars extra creamy. However, if you want to lighten it up a little, using lower fat cream cheese is a great option. Keep in mind, if you make a swap, the flavor and texture are going to vary.
Cheesecake recipes to try
- Instant Pot Malted Cheesecake
- Turtle Pumpkin Cheesecake
- Oreo Cheesecake Bars
- Sweet Potato Cheesecake Bars
- Quick and Easy Microwave Cheesecake
- Mini Instant Pot Dulce De Leche Cheesecake Bites
Have you tried the recipe? If so, please leave a star ⭐️⭐️⭐️⭐️⭐️ rating in the recipe card below or drop a comment. Also stay in touch with me through social media by following me on Facebook, Pinterest, or My Facebook Group
Cookie Monster Cheesecake Bars
Ingredients
Cookie Crust
- 1/2 cup butter softened
- 1/2 cup brown sugar
- 1/4 cup granulated sugar
- 1 1/4 cup all-purpose flour
- 1 teaspoon vanilla
- 1 cup semi-sweet mini chocolate chips
- 1/2 teaspoon salt
- 1 large egg
No Bake Cheesecake Layer
- 16 ounces cream cheese softened
- 1 cup powdered sugar
- 1/3 cup sour cream
- 1 teaspoon vanilla
- 1 1/2 cups cool whip
- 1 teaspoon lemon juice
- blue food coloring
- 12 mini Chip Ahoy chocolate chip cookies
- 12 mini Oreos
Instructions
- Preheat oven to 350 degrees. Start by mixing your butter and granulated and brown sugar in a stand mixer for the cookie crust.
- Once the butter mixture is creamy, you will add in the egg, vanilla, salt, and slowly stir in the flour.
- Fold in the chocolate chips. Place in a parchment-lined 8×8 pan and bake for 15-20 minutes or until the cookie bars are done. Remove from the oven and let cool.
- Once the cookie bars are cooled, you will begin to work on your no bake cheesecake layer. In a stand mixer begin whipping up your 2 blocks of softened cream cheese. Add in the sour cream, lemon juice, vanilla, and slowly add powdered sugar.
- Then add in some blue food coloring till you reach your desired blue color. Fold in the cool whip. Pour into the 8×8 pan.
- Top with chopped cookies. Cover and refrigerate for 6 hours or overnight for the cheesecake layer to set up.
- Slice your Cookie Monster cheesecake bars into squares and serve up your family or friends.
Notes
Nutrition
did you make this recipe?
Make sure to follow on Pinterest @bakemesomesugar and on Instagram @bakemesomesugar


Comments & Reviews
Lori says
cheesecake layer calls for 1 teaspoon lemon juice, but I don’t see it in the directions