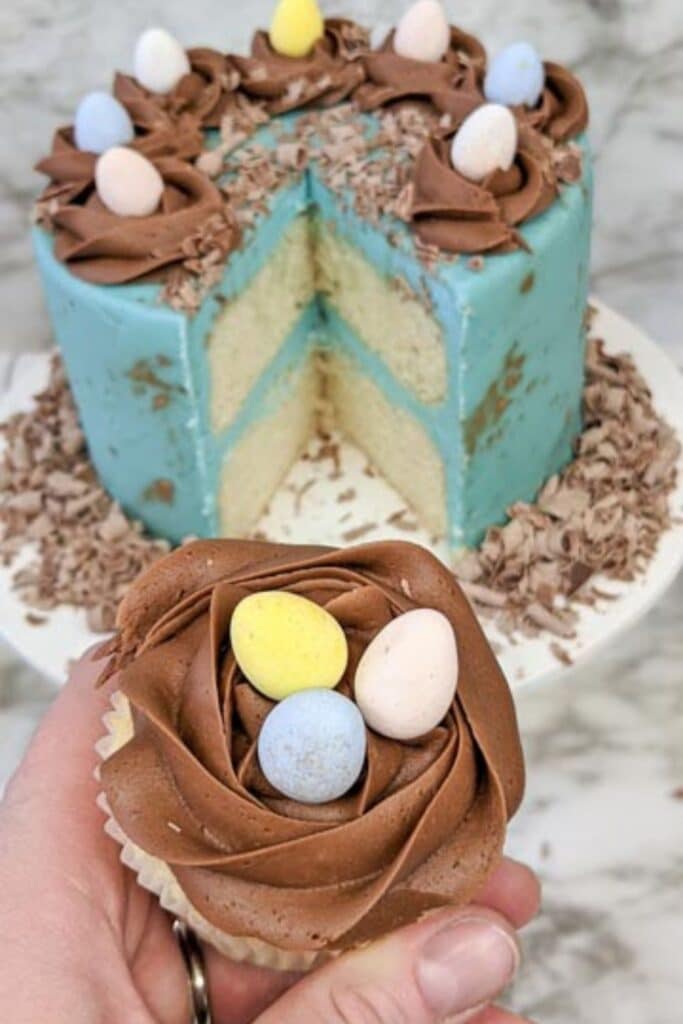
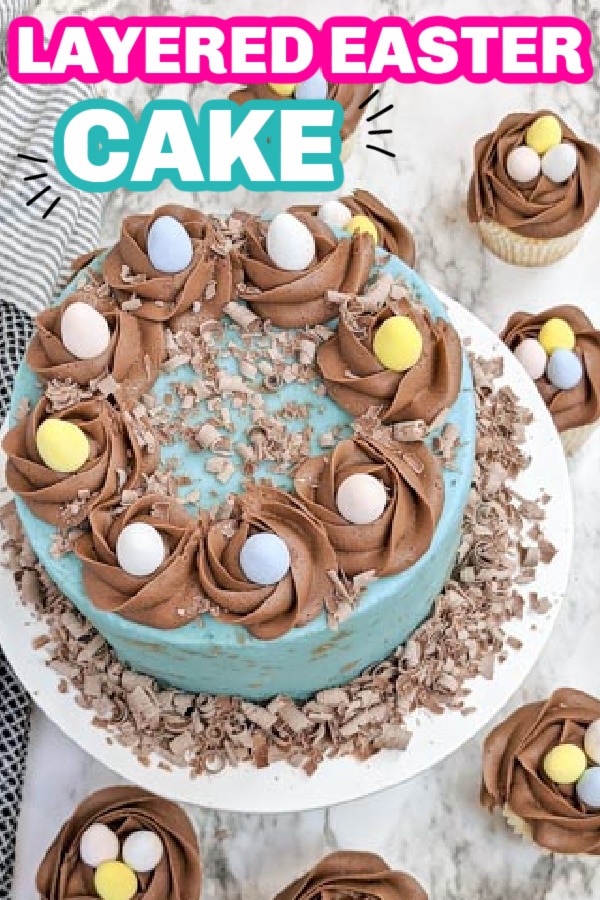
Serve up this colorful Easter cake that is a vanilla cake topped with a blue robin-colored buttercream frosting. This Easter cake with eggs is a fun and colorful cake idea!
I wanted to share how to make a multi-layer cake that is an easy Easter dessert that takes minimal effort. This is the perfect spring cake idea! Try out this two tier Easter cake today.
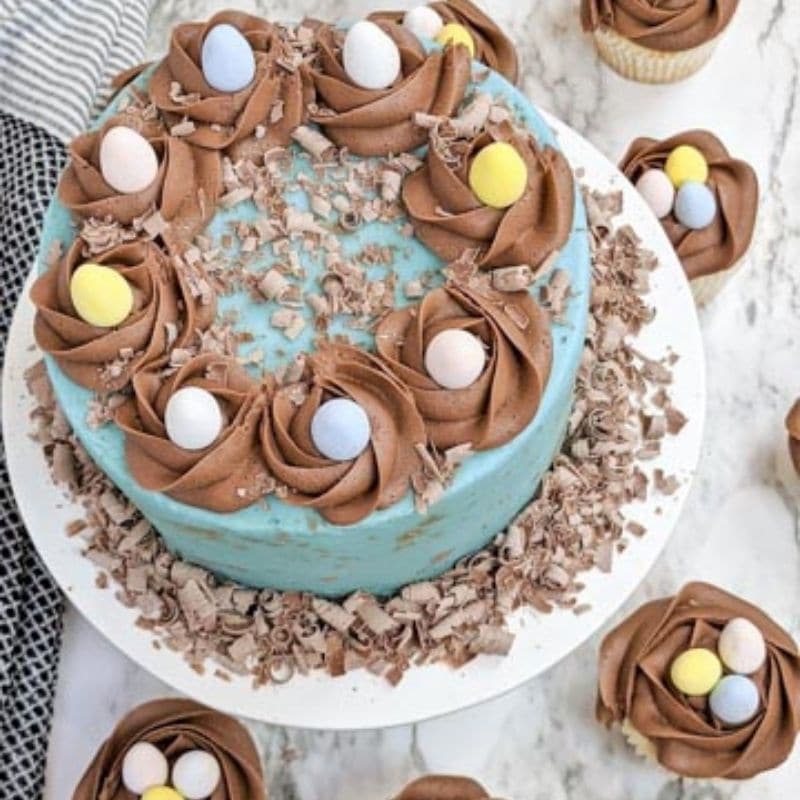
Table of contents
You also can use the leftover cake batter to make Easter cupcakes to go along with the Easter egg cake.
Why Will You Enjoy This Easter Cake Idea…
- A simple cake decorating idea
- The homemade vanilla cake that is light and fluffy
- Homemade buttercream frosting
- Simple layered cake
- Mini eggs for a fun decorating
- A decadent Easter treat that will be a stunning presentation value
Ingredients
- Milk
- Eggs
- Vanilla
- Almond Extract
- Sugar
- Flour
- Butter
- Baking Powder
- Powdered Sugar
- Light blue food coloring
- Cocoa Powder
How to Make
Full directions on how to make this Easter layer cake are in the printable recipe card at the bottom of the post.
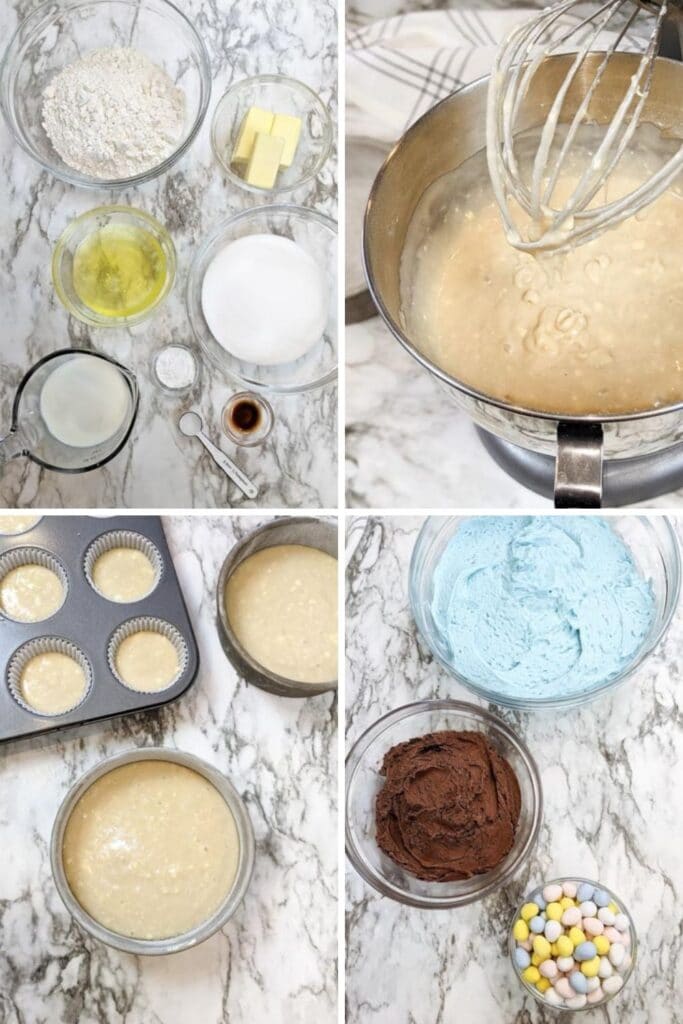
Step 1: In a mixer, you will want to mix your milk, sugar, egg whites, vanilla, and almond extract together. Then you will want to fold your flour and baking powder into the mix.
Step 2: Now you will add in your pea-sized butter and work it into the dough.
Step 3: Pour the cake batter into two 6 inch cake pans. Then you will use the leftover batter and make it into a lined paper muffin tin.
Step 4: For the cakes, you will bake at 350 degrees for 25-30 minutes or until the cake is done. For the cupcakes, they will bake for 13-18 minutes.
Allow the cupcakes to fully cool on a cooling rack.
Step 5: In a mixer, you will mix up the buttercream frosting. Then you will decorate your cake.
How to Decorate An Easter Cake
Here is how I decorated this Easter layered cake. This isn’t how you have to, but if you want to copy it go for it, or just pick elements from the design.
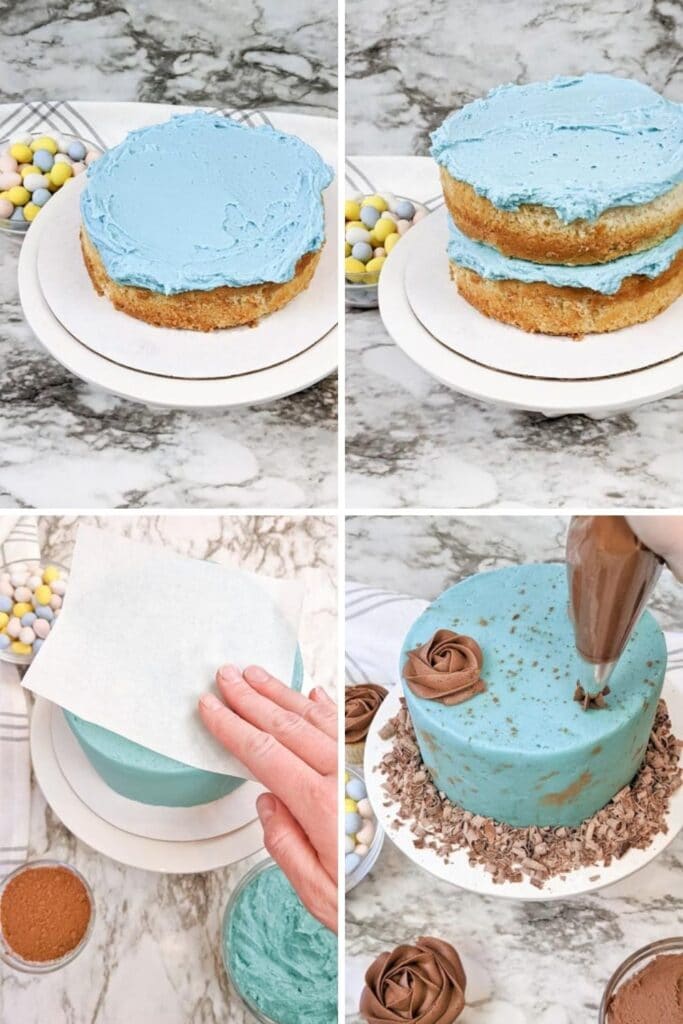
Step 1: Start by slicing your top of the cake with a serrated knife to make it a clean cut that is even. Then place 1/2 cup of blue frosting and spread on top of the cake.
Step 2: Top with the other piece of cake, and do another layer of frosting. Work on spreading the frosting around the edge of the cake.
Step 3: Place the cake in the freezer to help the frosting set up. Remove the cake and do a thicker layer of frosting. Use parchment paper on the cake. Move it around to help smooth the areas.
Step 4: Sprinkle with cocoa powder to give it a splatter look. Tehn you can pip on some chocolate frosting with a 2D tip. Then gently place the eggs on cake.
For the cupcakes decorate the same and add 3 eggs on top.
Grab my Free Kitchen Conversions Printable! This shows you how many cups are in a quart, pint, etc. A great printable to keep handy for when you need to convert a recipe.
Cake Decorating Tools
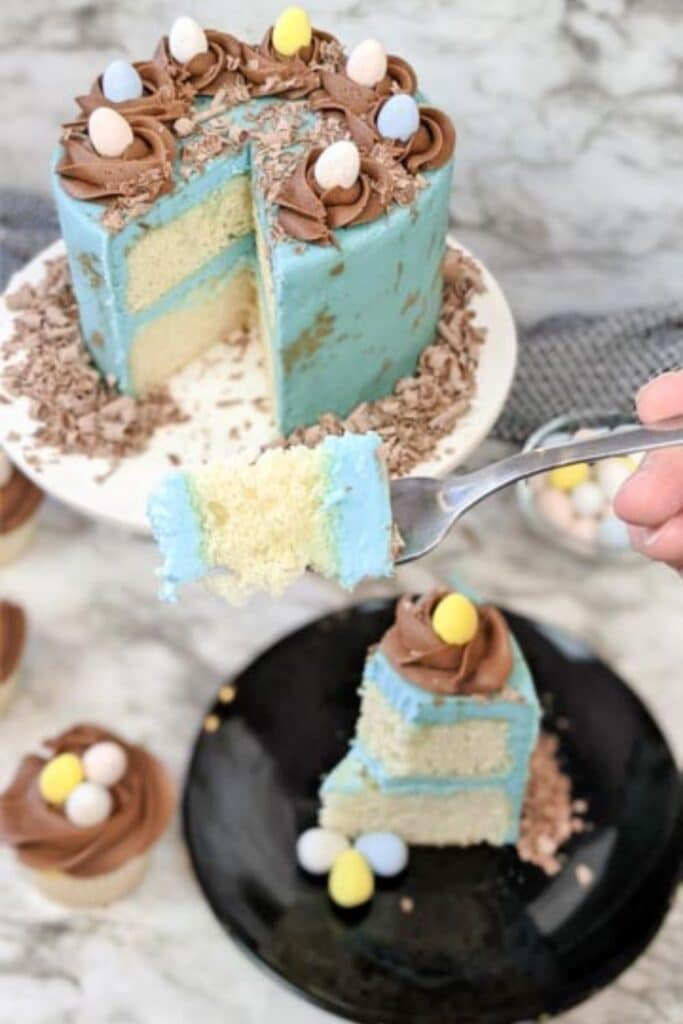
Here are helpful tools to help you in decorating an Easter cake. Now, you do not have to copy the look of the Easter cake I did, but if you do these tools will help achieve the look.
Storing Cake
This Easter layered cake can be stored in an airtight container. I find that storing it in the fridge is best as it keeps the frosting from breaking down. The cake will store for around a week.
But this cake is best eaten within the first couple of days of making it.
You can also freeze your Easter cake if you want. Just place in a freezer container and freeze for 3-4 months.
Expert Tips
- Freezing your cake after frosted in between layers will help make it harder for the cake to flake.
- Parchment paper is great for giving your cake that smooth look you want without needing special tools.
- Make sure your buttercream frosting is thick so it pipes well.
- You can use toasted coconut to decorate around the cake instead of chocolate shavings.
- Store your cake in the refrigerator or you can possibly melt the frosting as it is made with butter.
- Use real butter not margarine for cake and frosting.
More Easter Desserts
- Italian Easter Bread
- Carrot Cake Fudge
- Chocolate Fudge with Easter Eggs
- Peep’s S’mores Dip
- French macarons
- Tiramisu
- Edible Chocolate Bowls For Easter
Have you tried the recipe? If so, please leave a star ⭐️⭐️⭐️⭐️⭐️ rating in the recipe card below or drop a comment. Also stay in touch with me through social media by following me on Facebook, Pinterest, or My Facebook Group

Layered Easter Cake
Ingredients
Vanilla Cake Recipe
- 1 cup milk
- ¾ cup or 6 egg whites
- 1 teaspoon vanilla
- ½ teaspoon almond flavor
- 4 teaspoons baking powder
- 1 ¾ cup sugar
- 2 ¼ cup flour
- ¾ cup softened butter
Buttercream Frosting
- 2 cups softened butter
- 4 tablespoons powdered sugar
- ¼ cup cocoa powder
- Light blue gel food coloring
- 2-3 tablespoons milk or milk substitute
Additional ingredients/supplies needed –
- Chocolate shavings – pre-bought or made by taking a peeler to a bar of chocolate
- Robin Egg chocolate candies
- Pastry bags
- 2 D metal decorating tip
- ½ t. Cocoa powder – to sprinkle
Instructions
- Mix milk, egg whites, flavorings, baking powder, sugar, and flour in a stand mixer. Combine well. Add in softened butter just until incorporated. Butter pieces should be the size of a pea.
- For cupcakes: pour into paper-lined muffin pans. Bake at 350 degrees for 16-18 minutes.
- For 6 inch cake: spray pans with non-stick spray and then a light dusting of flour just to coat the pan. Bake at 350 degrees for 25-32 minutes or until a toothpick
inserted into the middle of the cake comes out clean. - Allow your cake and cupcakes to cool completely before decorating.
- In a stand mixer, beat the softened butter on medium speed for about a minute. Slowly add in half of the powdered sugar.
- Mix well. Add remaining powdered sugar. Add in a dash of milk or milk substitute and mix.
- Repeat if needed until desired consistency. Buttercream should be thick to maintain details of the decoration but not so thick that it’s clumpy and unable to
spread. Continue as directed below.
How to Decorate Cake
- Once the cake has been made and cooled, carefully remove from the pans.
- Make the buttercream. Separate the batch into two bowls. Approximately ⅔ in one large bowl and the other ⅓ in a smaller bowl. Tint the larger bowl with the light blue food coloring – start with just one or two drops and add more if
needed. Stir well. Add the ¼ c. cocoa powder to the smaller bowl. You may need a dash of milk if the added dry ingredients make the mixture too stiff. Place the chocolate buttercream in a pastry bag fitted with a 2D decorating tip. Set aside. - With the cake removed from the pans, cut off a layer from the very top to ensure a level cake with a serrated knife.
- Place one cake round on a plate or platter of your choice. Place approximately ½ cup of blue frosting and spread to cover the top of the cake.
- Place the second cake round on top of that frosting and cover with additional frosting. Continue to spread the frosting down the sides and spread as evenly as possible – this is just the crumb coating, so just a thin layer is sufficient to set the cake.
- Once an even, thin layer coats the cake side and top, place in the fridge or freezer to chill for approximately 30 minutes.
- Remove the cake from the fridge/freezer and coat with another, thicker layer of blue frosting. Even it out as best as possible, preferably with an angled metal
spatula or flat edge scraper. - You can use a piece of parchment paper to smooth any ridges and divots in the frosting by lightly pressing the parchment on the cake. Move around as needed to smooth areas that are stubborn until the blue buttercream is smooth.
- Sprinkle with just enough cocoa powder to give a “splatter” look. Start with just a little bit, you can always sprinkle a little bit more but adding too much is very
difficult to remove without compromising the smoothness of the frosting. - Press a handful of chocolate shavings around the bottom of the cake. Continue all the way around – some will drop onto the platter, spread around evenly.
- Using the pastry bag with the chocolate frosting fitted with the 2D tip, decorate the cupcakes.
- Start in the center of the cupcake and with slow, steady pressure with the tip perpendicular to the top of the cupcake, rotate the frosting in a spiral pattern all the way around the center point and out toward the edge of the cupcake.
- Stop applying pressure to the pastry bag and slowly break away from decorating the cupcake. Place three of the robin egg chocolate candies in the middle of the nest of the cupcake. Repeat with remaining cupcakes.
- To decorate the cake with chocolate frosting: Using the same spiral motion to decorate the cupcakes, create the chocolate nests around the exterior edge of the cake.
- Place the chocolate candies in the center of each chocolate nest. Top with remaining chocolate shavings, if desired.
- Store in the fridge until ready to serve.
Notes
Nutrition
did you make this recipe?
Make sure to follow on Pinterest @bakemesomesugar and on Instagram @bakemesomesugar
Let me know how you like this Easter cake!






Leave A Reply!